Wednesday 26 June 2013

Stick 'em with the pointy end.

I just wasn't happy with my attempts at making fondant models a few days okay, the wolves I made were okay but the Arya figure really hadn't improved much since I tried to model a viking out of plasticine back in Primary Six.

So I had to scrap that idea and re-think it. I took my inspiration from the Pop! Vinyl Game of Thrones figures. First off I tried to make one out of fondant, but that was doomed to failure as well. It managed to collapse under the weight of its massive head.

This called for another re-think.

I stuck with the Pop Vinyl and decided instead to try and render their Arya Stark entirely in cake. So here it is


I used some silver lustre dust mixed with a smidgen of vodka to get the metallic finish on the sword. Happy birthday baby Arya! 

Saturday 22 June 2013

Name Day is Coming.....

Next Friday we'll be celebrating my daughter Arya's first birthday. Me, the husband and the baby are taking ourselves off to London for the weekend (shopping! food! Pompeii exhibition!) so we'll be celebrating her first name day before we go.

Next year no doubt she'll ask me for a Dora the Explorer cake or Doc McStuffins or similar, this year she's too young to have a preference so I can get away with what I think is cool.

NYMERIA!!!!


Friday 21 June 2013

Chocolate Ganache & Pigs in Mud Cake

Another last minute order this week. I was asked to make a cake for my cousin's 18th birthday. I needed to do something very quick and simple so I decided to try my hand at the Pigs in Mud cake that went viral in the internet a few months back.

I baked two all-in-one cakes and torted them. I only needed three of the layers or it would have been too tall (so the spare layer is wrapped in cling film and waiting in my freezer for another day). This cake is covered in chocolate ganache which is wonderfully simple to make.

2 cover the three layers of cake (9 inches by, roughly 3 inches) I used

Chocolate Ganche:

400ml of double cream
400g of 70% cocoa dark chocolate, roughly chopped.

Put the double cream in a medium saucepan over a low heat and add the chocolate. Stir constantly until the chocolate is melted and combined with the cream. Remove from the heat and whip for a minute or two until you get a smooth, thick and glossy consistency. Decant into a large bowl and leave to cool and thicken for an hour or two until it's a good thick spreading consistency.

I applied the ganache to the cake with a palate knife, then placed the two finger Kitkats around the edge. I secured them with ribbon. Then just plop your fondant piggy models on top and voilĂ ! 


Saturday 15 June 2013

Tangled - Rapunzel's Tower

My middle daughter is obsessed with Tangled, so when it was coming up to her 3rd birthday I set myself the challenge of making her a Tangled Tower cake. This was the 4th novelty cake I ever made and was a big step up in technique from the previous attempts. I thought I'd put together a quick tutorial to help out anyone planning to do the same (this has been posted before in some of my other non-cake blogs).
Please don't mind the mess in the background of the pictures. I stupidly decided to make this cake and redecorate my kitchen at the same time!
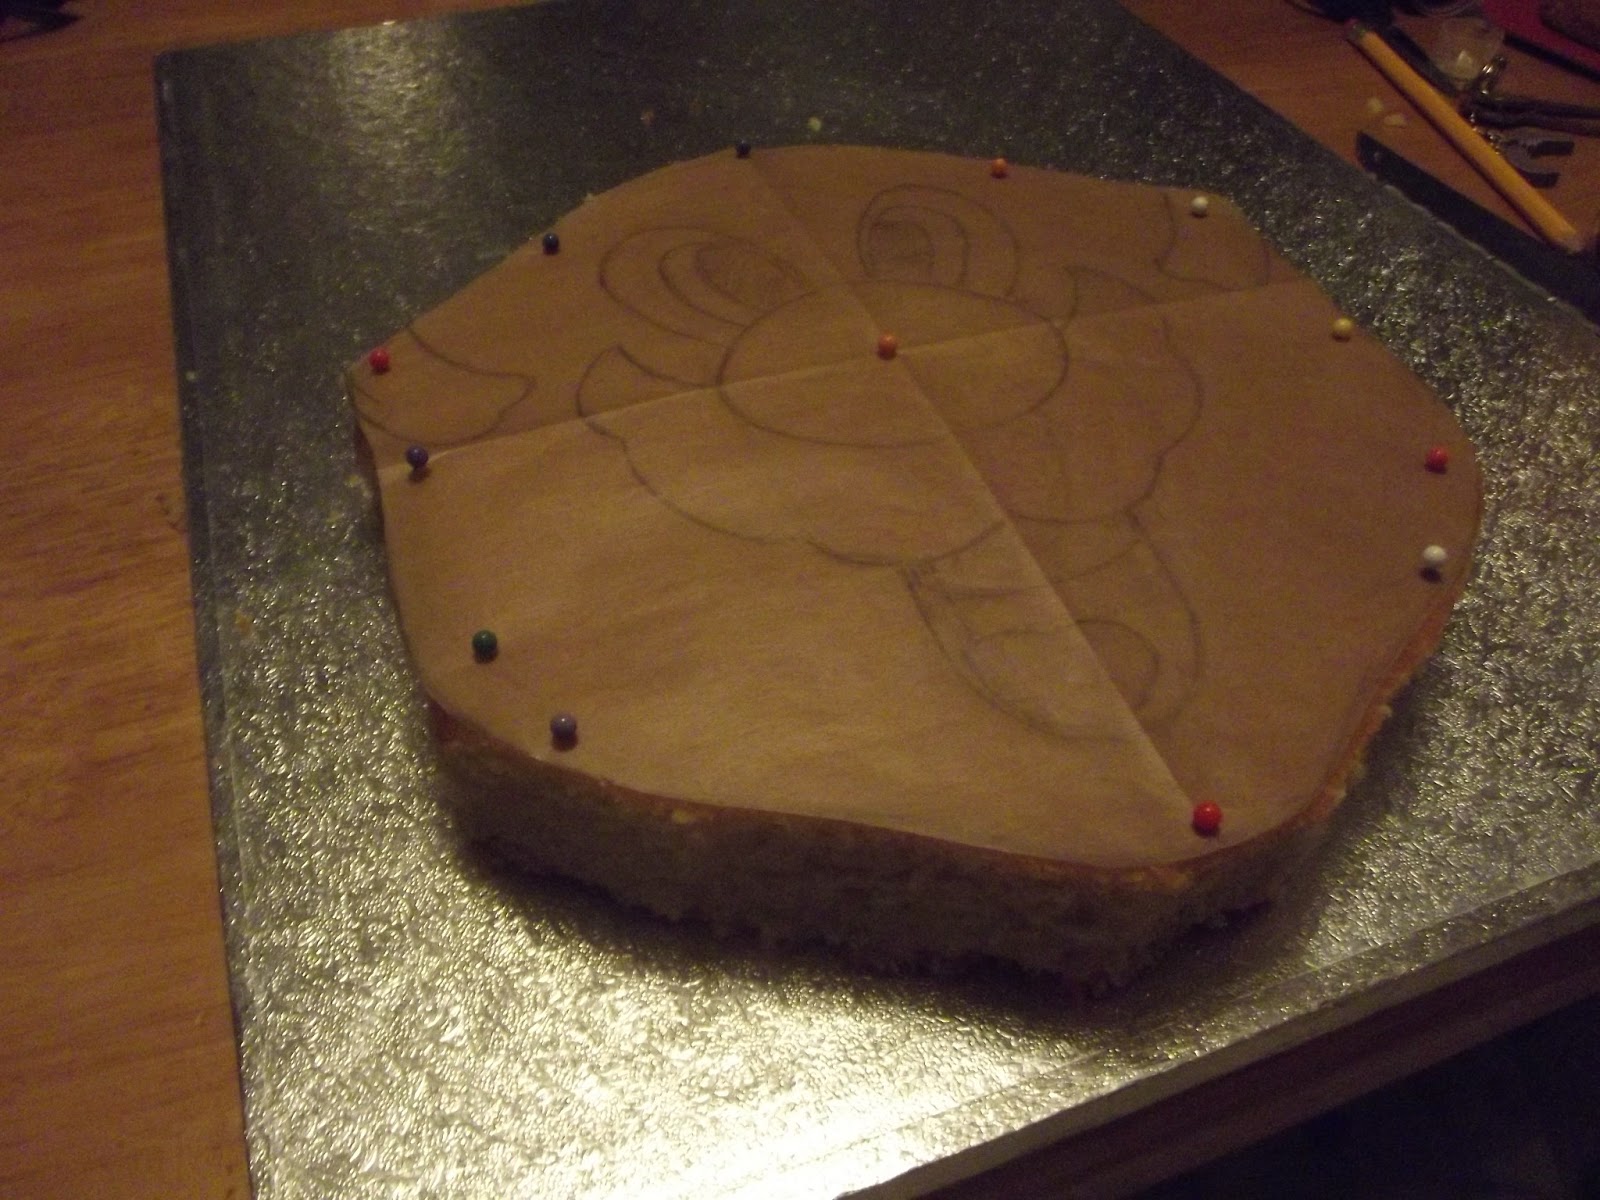
First off I made the cakes. The bottom tier was two all in one cakes and the top tier was three red velvet cakes. I wrapped them several times in clingfilm and froze them as decorating cakes from almost frozen is much easier in my opinion. I did this about two weeks before the main event.
Next I made the tower out of Rice Krispie Treats using this recipe. I used a cocktail shaker, a tea caddy and a bowl as the moulds. Image
I put a very fine layer of crisco on the moulds to stop the RKTs from sticking. I left them in the mould for about an hour before loosening with a palate knife. I left them to set for another hour before trimming the bottom so they were flat.
Image
Next I covered the pieces with melted candy melts and attempted to get the sides as smooth as possible (I wasn't entirely successful). Image
Next I covered the base of the tower in one layer of grey fondant. I used a texture mat to get a stone effect on it. I stuck it on with a small amount of piping gel. Next I rolled out a section of champagne coloured fondant and cut out sections (so it appeared that the plaster had come away from the stone work). I lightly wet the grey fondant in places to stick the champagne fondant on.
Image
Next I covered the top of the tower in champagne fondant and attached it to the base of the tower using cocktail sticks. I attached the dome of the tower and a polystyrene cone using candy melts.
Image
I used brown fondant to fashion the woodwork on the tower and the window.
Image
Next I cut out squares of pink, purple and blue fondant and allowed them to try for an hour before attaching them to the roof using a paint brush to brush on a very small amount of water. I covered a cocktail stick in fondant and push that into the top of the cone to finish off the spire.
Image
Using a plunger cutter, I cut out fondant flowers and allowed them to dry. I made vines by rolling out green fondant, and again, attached them with water.
Image
I painted random stones on the textured fondant using powdered food colouring mixed with a very small amount of tequila (most people use vodka, I had none, tequila worked fine).
Image
Image
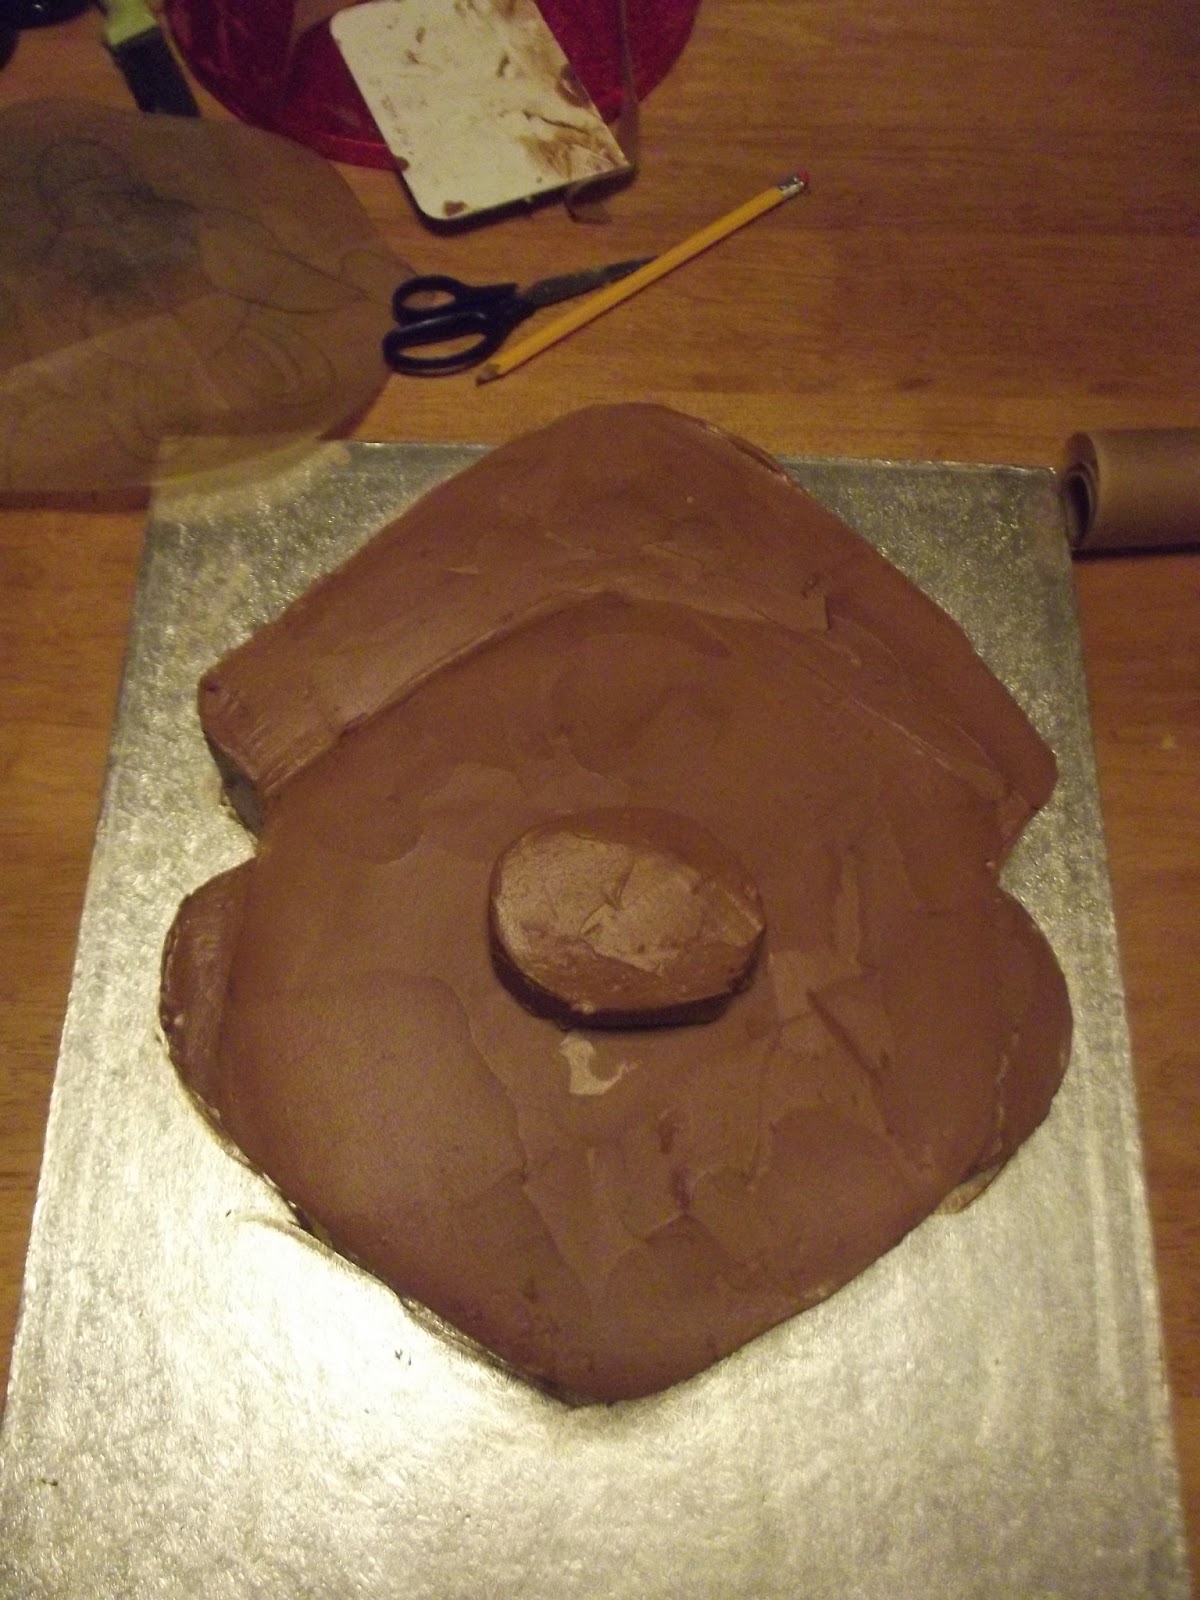
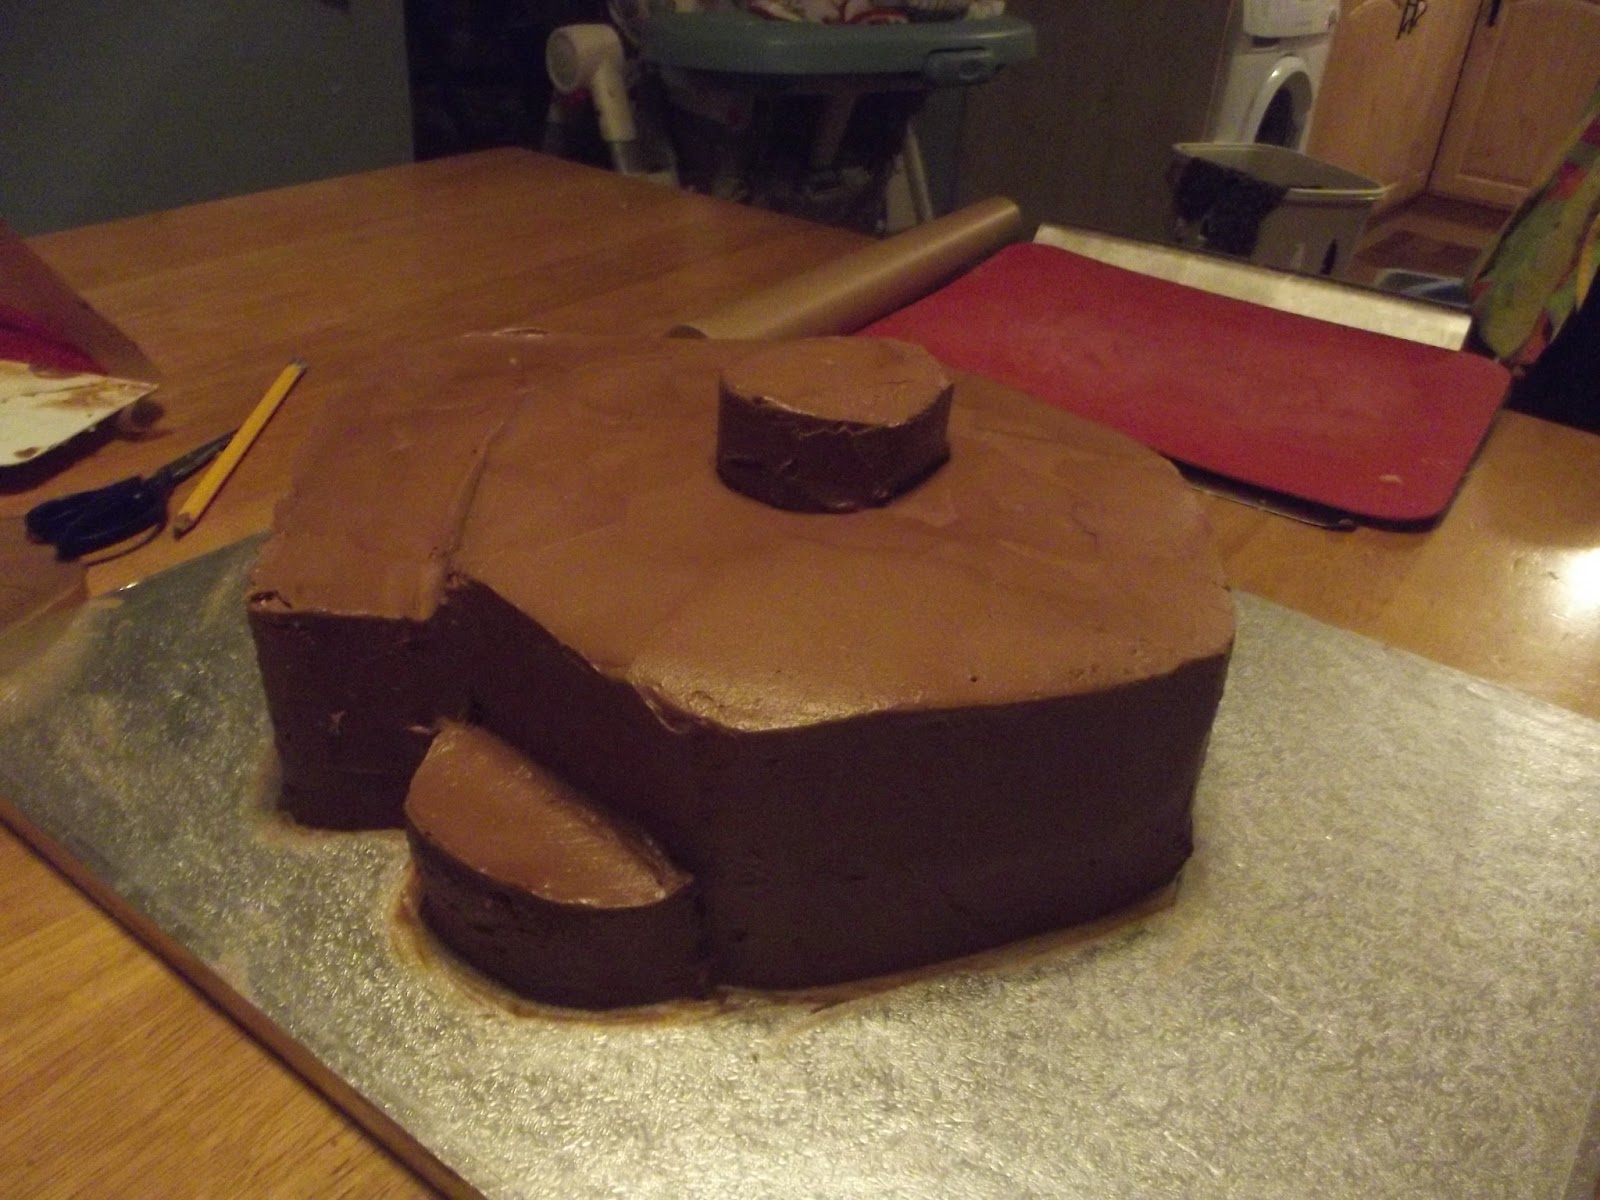
I took the cakes out of the freezer and left them wrapped until partially defrosted (depresses slightly when pressed). I covered in buttercream and chilled for two hours before putting on the fondant. This lady, Laura at Krazy Kool cakes, has some excellent video tutorials on covering cakes.
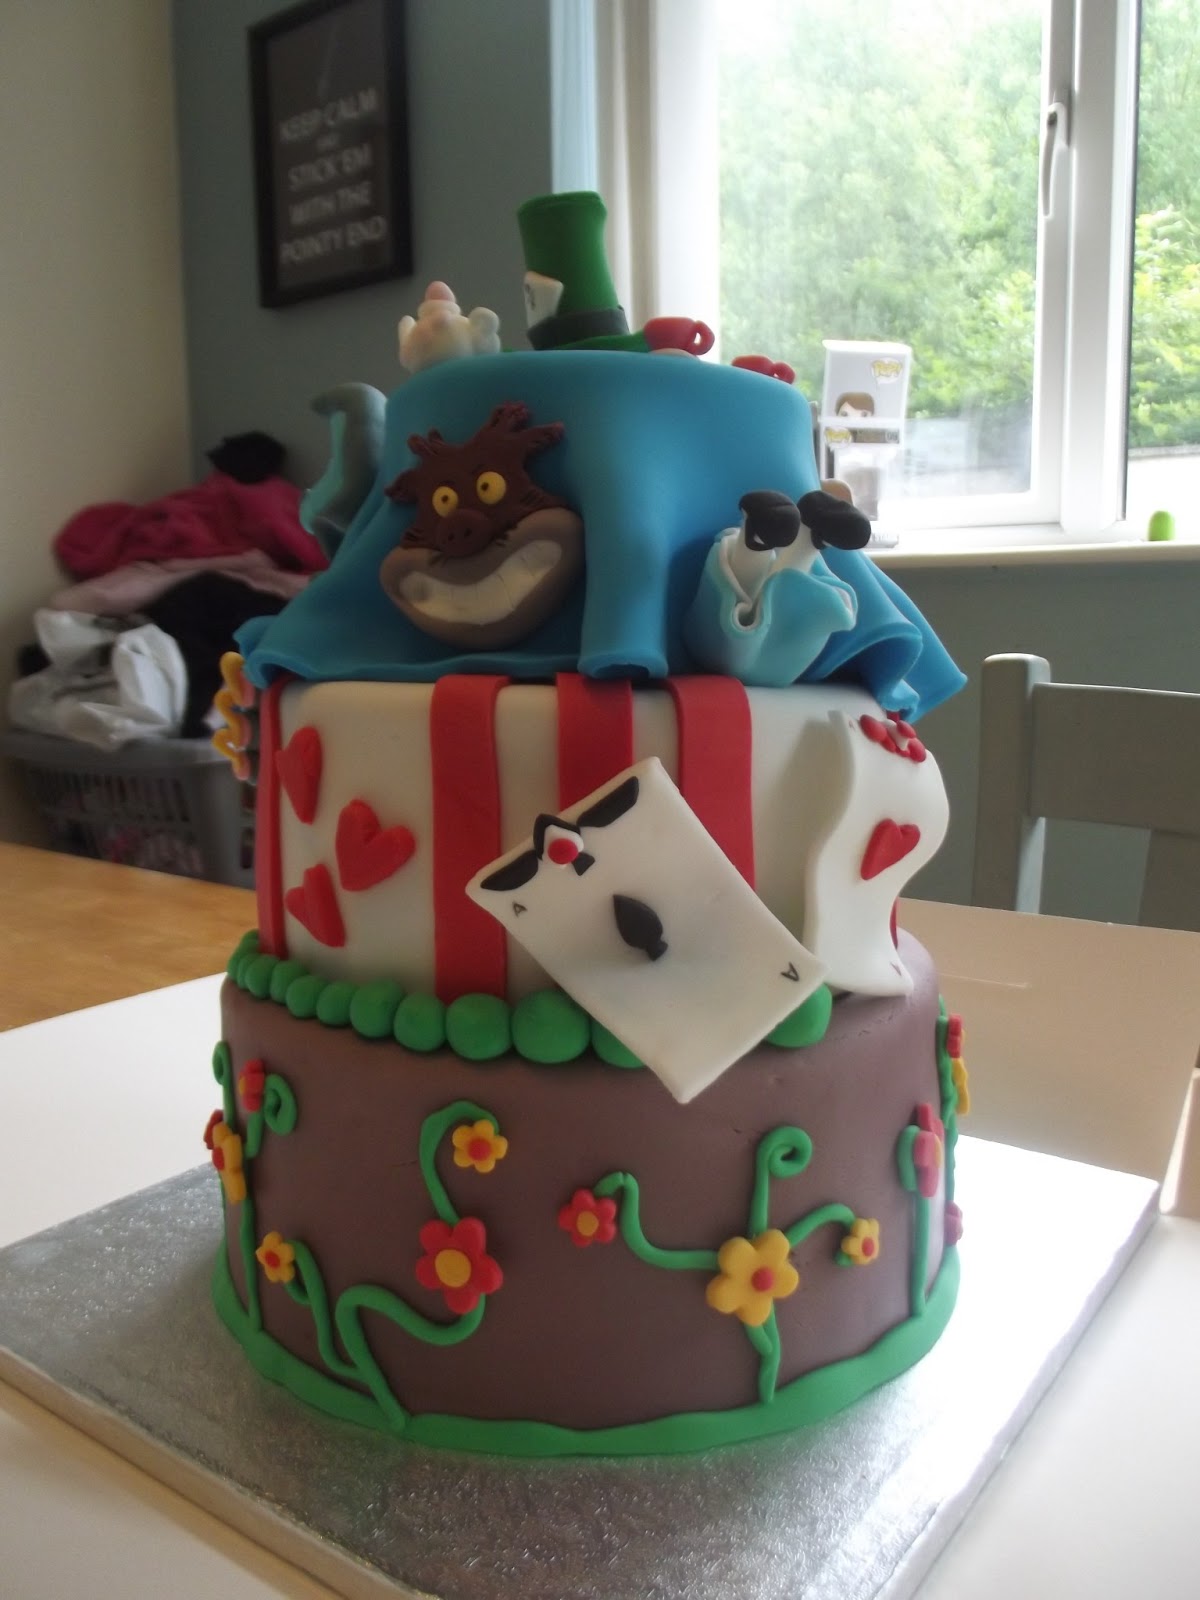
Finally I used a grass nozzle to pipe royal icing grass around the base of the cakes and I decorated them with fondant flowers.
Voila!
Image

Super Mario Cake (Part 2)

This bit was relatively easy. I just cut up the grease proof paper template to get the shape of the details for the face. I gave it a bit of a rub down with just a dab of shortening of get a shiny finish. One point I need to raise, it was a mistake putting the nose on the cake last night. I had to take it off and cover it with fondant separately. I then fixed it back on over the fondant covered face. There's a dab of chocolate icing on the underside to hold it in place.


Friday 14 June 2013

Super Mario Cake (Part 1)

I got a very, very last minute request today for a Super Mario Bros cake, so this evening I have been extremely busy trying to get it made. Thankfully, I have until 5 o'clock tomorrow to deliver so I should have plenty of time tomorrow to get it covered and done.

Here's how it's going so far.

First off I baked 3 rectangle all-in-one cakes. Once cool, I wrapped in clingfilm and bunged in the freezer for a few hours. While they were defrosting I got on with making a template. Right I have to be honest here, I got the husband to draw the template for me, because he's much better at that sort of thing than me.

He drew the face on a sheet of grease proof paper.


I then cut out the face


And pinned it to the cake (be very careful to make sure and remove ALL the pins)


I then carved around the face. I did this twice as it's a two layer cake.


I then repeated the process with the hat, ears and nose, and cemented it all together with chocolate frosting.


It's a bit messy here as it's just the crumb coat.


Do check before you start that the cake board will fit in your fridge. Mine didn't, lucky for me that my mother lives next door and she has a much bigger fridge. The cake is going to chill overnight now and tomorrow I will apply the fondant. 

Alice in Wonderland Cake

It's finished! It didn't explode when I put in the central dowel! I'm just going to take this opportunity now to talk though the process of making a tiered cake.

I baked the cakes in advance. Once they had cooled I levelled and torted them. Each cake was cut into four layers (I use this handy little cheese wire cake leveller from Ikea), wrapped in cling film and placed in the freezer.

I took the cakes out of the freezer and let them defrost for an hour, still wrapped in the cling film. I made the icing while they were defrosting.

For the bottom tier, I put a smear of icing on the bottom cake drum before putting the first layer of cake on top. This helps to fix it to the board. I then layered up and frosted the cake before returning it to the fridge to chill.

For the smaller tiers I used 2mm thick cake boards because I was going to put a central dowel through them once the cake was assembled. I repeated the above process with the smaller tiers.

I put eight plastic dowels in the bottom tier to support the weight of the other tiers. I covered the holes with a small amount of icing (the same one I used in the cake). I then placed the second tier. I used four dowels in the middle tier before putting the top tier on.

Then came the fun bit. I bought a 9mm wooden dowel from homebase. I sharpened one end of it using a pencil sharpener. I carefully centred it and pushed it into the cake. I actually had to get a hammer out to drive it through the cake boards. That was exceptionally nerve-wrecking! I marked the top of the cake on the dowel and took it out, very slowly, turning as I pulled. I cleaned the dowel and trimmed it just before the pencil line. I then filed the top of the dowel so it was smooth and had no splinters. I then carefully put it back into the cake and covered the hole with a small blob of fondant the same colour as the top tier. Make sure your dowel is as straight as possible.

 I then attached the gumpaste embellishments with a small amount of edible glue. The fresh fondant decorations (the strips, flowers, hearts etc) were attached using a small amount of water and a paintbrush.

Once your cakes are covered in fondant DO NOT put them in the fridge, as this will cause the fondant to sweat and will ruin your cake. To make the fondant shiny, I find rubbing on a little cake release spray or shortening brings up a nice look. So here it is!


All boxed up and ready to go!


Sunday 9 June 2013

More Gumpaste

I'm continuing work on the Alice in Wonderland cake due at the end of this week. It is giving me nightmares, not least because it has to be transported quite a way from here and so I'm going to attempt to use a central dowel to hold it all in place. I have never done this before. I have images of hammering it in and the cake exploding.

Anyhew... here is the caterpillar I have been working on today.


I have also finally managed to track down the original cake designer for this cake. Here is the link to her site. 

Edited to add:

here are the playing cards 


Friday 7 June 2013

American Buttercream Icing


Measurements are in oz here as I got this recipe from my American mother-in-law (I think it's quite possible that she got it from Betty Crocker or Wilton). I find this is enough to cover a 10 inch 3 inch high cake. It's easy to scale up or down the quantities as needed.

4oz softened unsalted butter
4oz of Crisco
2 tsps of vanilla extract
4 cups of sifted icing sugar
2 tbsps of milk

Cream the butter and Crisco together, add the vanilla extract and mix well. Sift in the sugar while continuing to mix. When the sugar is combined add the milk to the right consistency and beat on high for at least five minutes until the icing is snow white and light.

If I need to colour the icing I add a few drops of colour along with the milk.

I can't take credit for the cake in that picture, it was done by my mother-in-law using this buttercream recipe back in the days before I started to make my own cakes.

Sunday 2 June 2013

All-In-One Cake

This cake tastes delicious, freezes well and is pretty sturdy and robust for carving.

  • 300g self-raising flour
  • Pinch of salt
  • 300g caster sugar
  • 250g unsalted butter, at room temperature
  • 4 large eggs, at room temperature
  • 4 tbsp buttermilk, at room temperature
  • 1 tsp of vanilla extract
Preheat the oven to 180oC. Sift the flour, salt and sugar into the bowl of large free-standing mixer. Add the butter into the bowl, in pieces. Whisk the eggs together with the buttermilk and the vanilla, and add to the bowl. Beat on a low speed until it is thoroughly combined, then increase the speed and beat for a few minutes until thick and light. 

Grease, flour and line a 9 inch round cake tin (personally I am a recent convert to Cake Release Spray, that stuff is fantastic!) Pour in the batter and bake in the centre of the oven for around 40-45 minutes until an inserted skewer comes out clean. 


Saturday 1 June 2013

Wine Bottle in a Crate Cake

I'm going to chalk this one up as a learning experience. I was attempting to do a wine bottle in a crate cake, basically a chocolate cake with fondant panels to create the cake, and a "gumpaste" bottle topper. So here is the process (not exactly as I did it, but what I have learned from my mistakes).

Making the bottle: 

At least 3 Days Ahead

Cover a wine bottle in a very tight wrapping of cling film. Liberally dust it was cornflour. Take a pound of fondant and add 1 tsp of tylose powder, kneed well until the fondant becomes nice and pliable. Roll out of a quarter inch thickness and then drape over the bottle. Smooth and trim so that it cover half of the bottle. Sit somewhere cool and dry to cure. When you are ready to use the bottle, slit the cling film up the back of the and gently ease off. For a shiny finish, paint with a little piping gel. I was making a bottle of Peach Schnapps, which is white, but if you are doing a wine bottle you can mix a little dye with the piping gel to get a real glass bottle look.

Making the panels:

At least 2 days Ahead

I dyed the fondant using brown colour paste. Dye the fondant first, then add the tylose. I then added a little more dye and kneaded a little to marble, but don't knead too much or you will lose the marbling effect. Roll the fondant out to size and cut, but leave the panels in place for at least 5-10 minutes to cure a little before transferring them onto sheets of greaseproof paper. If you move them too soon they will lose their shape a little and you will end up with wonky sides. Once they are on the greaseproof paper, score and mark to look like wood. Leave to cure. DO NOT TOUCH until you need to use them. I made the mistakes of checking to see if they were dry and caused a weakness that then cracked once the cake was assembled.

When it comes to applying your panels to the side of the cake, I slid them onto my huge quilting ruler and then tilted that to apply to the side of the cake. This kept the panels nice and flat and should stop any weaknesses developing if you're followed the previous instructions.

So here is the result. I'm not very proud of this one as it's a bit messy and one of the panels cracked. I also had to apply a bit of last minute leaf work around the base to tidy up my messy edges, but I think if I was attempting to do this again I could get a much nicer finish, straighter edges and no cracks!